I’m excited to share this embroidery hoop door hanger I made for our home last year. The best part about this project is that it can be done without a Cricut or Silhouette. This embroidery hoop door hanger is a festive way to welcome family and friends to your home! This project is easy enough to customize and make a few at a time as gifts for friends I hope you enjoy the tutorial!
Materials – all items were purchased at Michael’s, Hobby Lobby, & Ulster Linen)
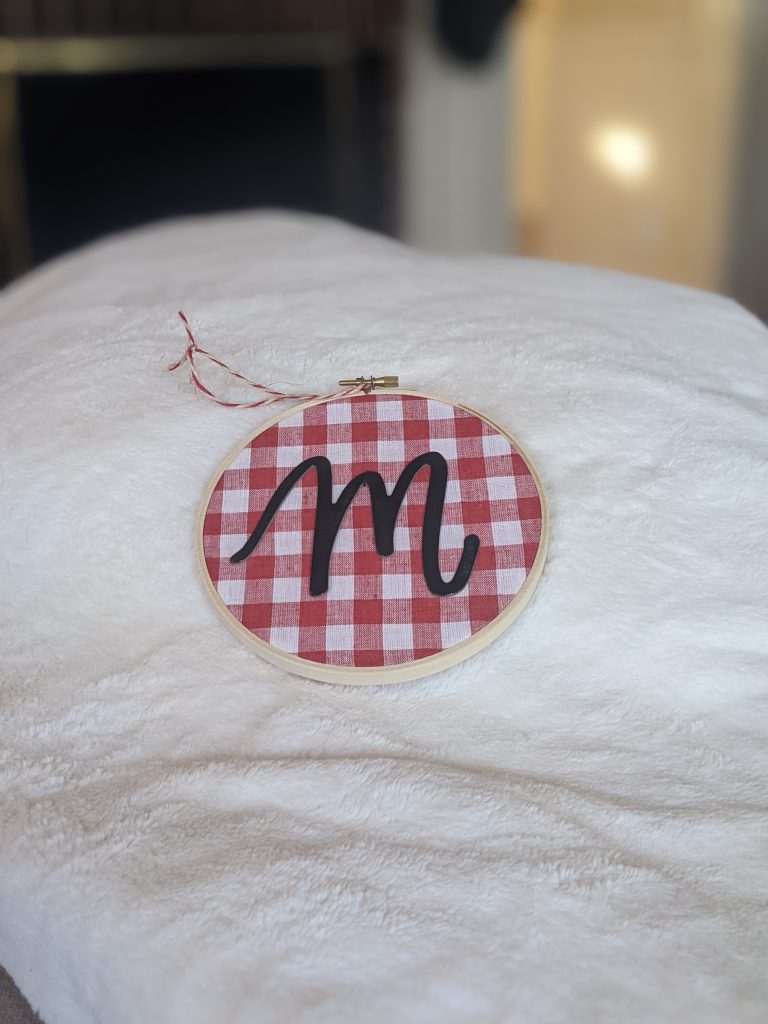
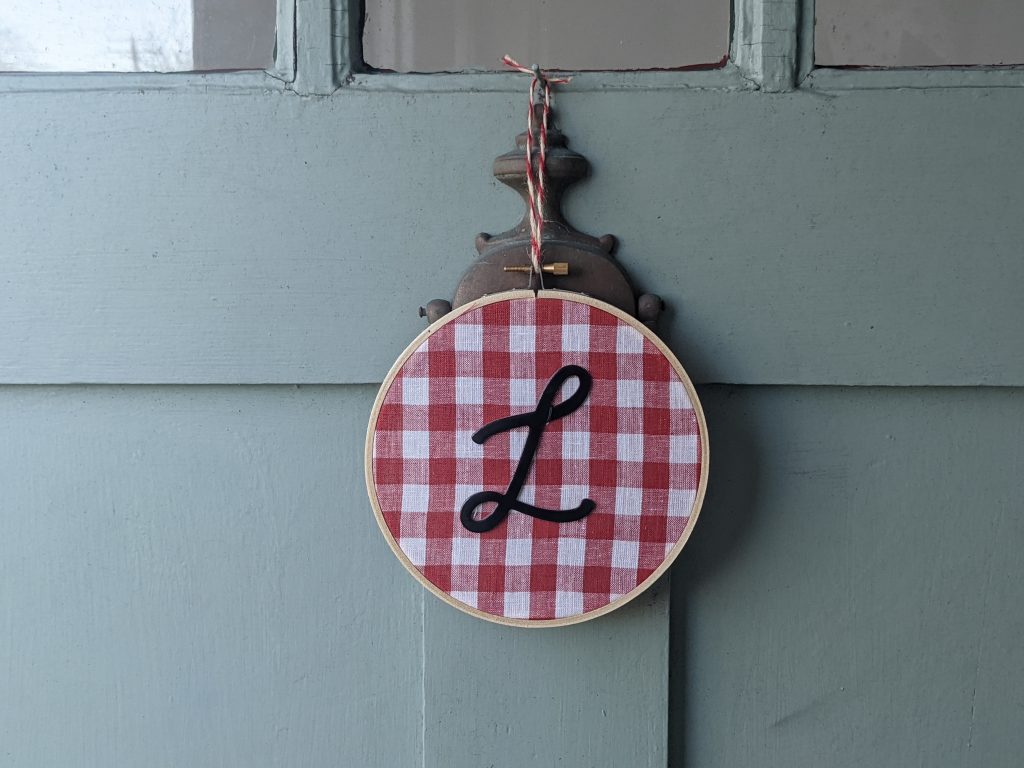
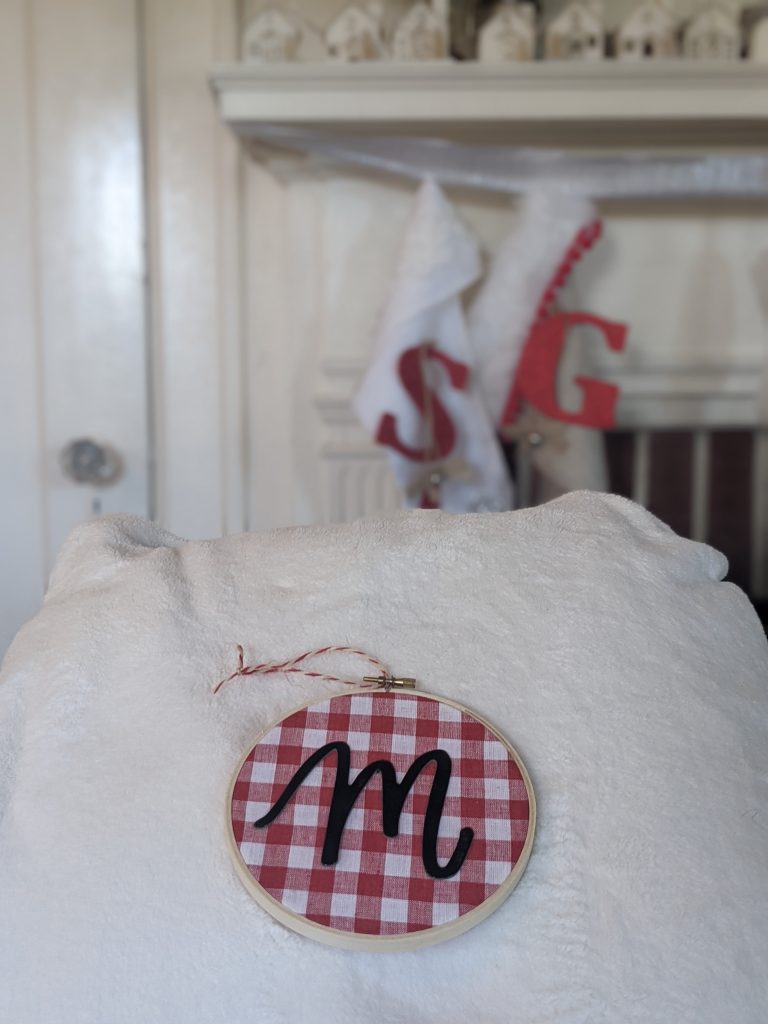
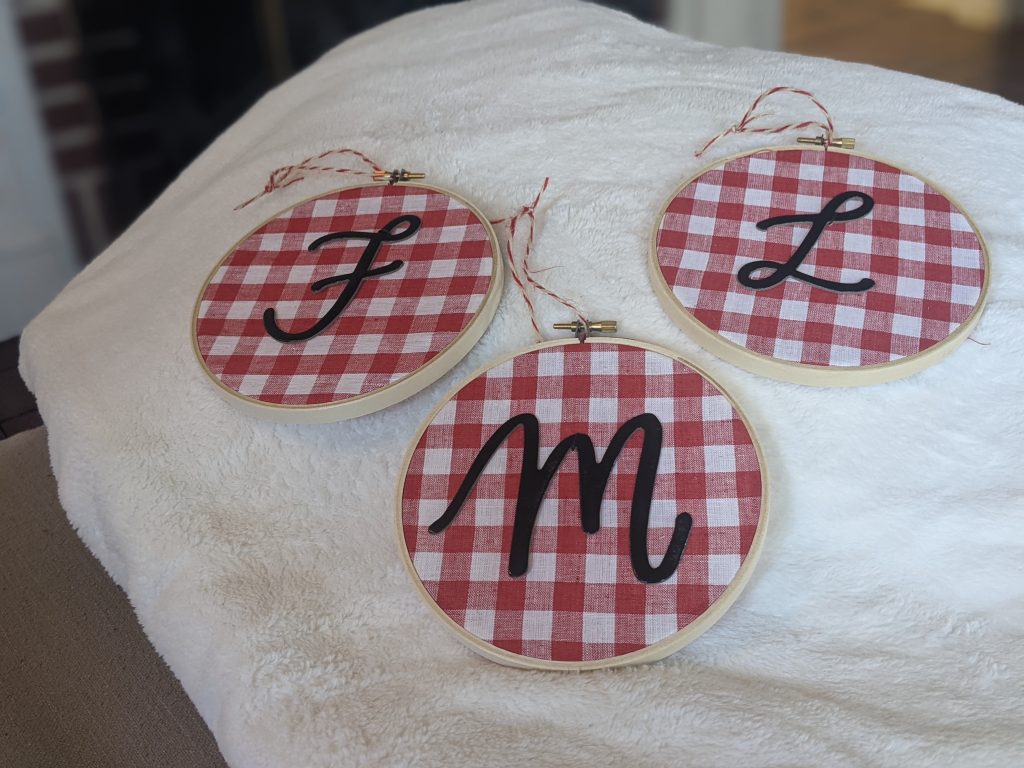
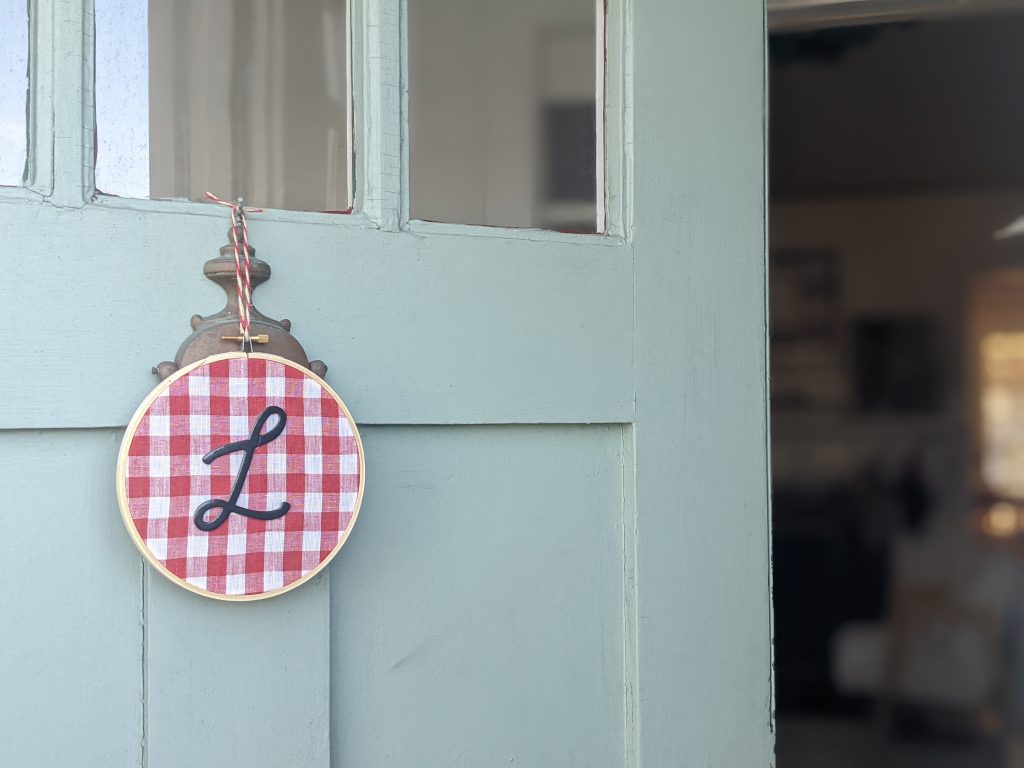
- Embroidery Hoop (choose your preferred size)
- Red and White Gingham Linen Fabric
- Black Script Alphabet Letters
- Black Thread and needle
- String or twine – I had red and white baker’s twine so I used that
- Fabric scissors
Directions
- Lay your embroidery hoop on top of your fabric and trim your fabric down so it’s just slightly larger than your hoop (including the thickness of the hoop).
- Place the fabric in between the two hoops, making sure to keep the tightening device at the top and center of your layout. Tighten the device and pull on the fabric on all sides. Pick one place to start and work your way around the hoop.
- Turn the hoop over so you are looking at the back. Trim the extra fabric off the back off the embroidery hoop.
- Select the letter you would like to use. Center it in the hoop. I peeled the sticker backing to keep it in place then used two very small black stitches to keep it in place.
- Cut your desired length of ribbon, string, or bakers twine and make a large loop through the tightening device at the top of the hoop.
- Add any extra finishing touches or leave as is. I hung ours on the front door or added them to Christmas gifts as an extra decoration.